Intro to Watercolor!
- Aug 19, 2025
- 3 min read
In this tutorial, you will learn 3 different watercolor paintings in three different levels: beginner, intermediate, and advanced.
But first, let's get into some basics of the tools you can use.
There are various types o paint you can use, like tube paints, pan paints, ink paints, and even watercolor crayons and pencils!
But for beginners, I recommend
Canson Watercolor Paper – This is a fantastic option that you can find at most major stores, and their watercolor pads come in larger and smaller sizes.
Watercolor paper and pads are often sold in terms of ‘hot press’ and ‘cold press’ paper.
Hot press paper has a smooth texture, so it’s ideal if you’re looking to add more intricate details with a pencil to your pieces. This paper tends to produce brighter colors and cleaner transitions as well.
Cold-press paper is recommended for those just starting out with watercolors. The rough texture of the paper holds water and pigment in place, allowing for more control in your painting. It is more absorbent than hot press paper, which can help when blending and layering washes. Cold press is also great for beginners because it is one of the more abundantly available types of watercolor paper you can find.
Pentel Aquash Water Brush Pens – This set of three water brushes is really all I need. The water is in the barrel, so they’re easy to bring along and there’s no elaborate set up. They’re also fabulous for brush lettering or sketching, if that’s what floats your boat.
Round Brush Set – If you want more traditional watercolor brushes, you really only need some small round brushes as a beginner.

Now ont some basics of watercolor painting
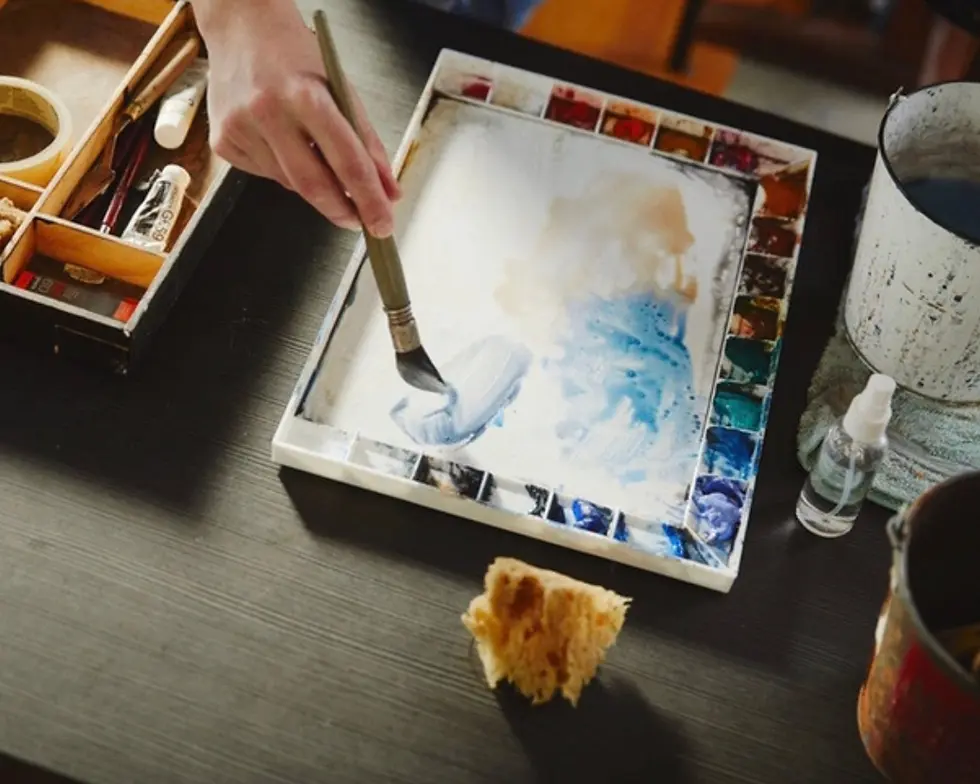
How to activate the watercolor
To activate watercolor paints, you need to add water to your paints! For tube watercolors, squeeze a small amount onto a palette and add water to create your desired consistency. For pan watercolors (the solid blocks), you can either moisten the paint with a spray bottle or use a wet brush to swirl into the color. Water is the key to unlocking the pigment and making the paint workable. You can also mix your activated paint into a mixing palette for different consistencies
Different consistencies of paint
Based on what you want to achieve when doing watercolor, you want to use less or more water. When adding more water, the watercolor becomes lighter, whereas less water or no water at all makes the watercolor look very pigmented. Below you can see the different consistencies of paint from lightest/most amount of water to darkest/least amount of water added. Each consistency is relative to its name's consistency. For example the milk consistency of paint has the same thickness as milk.

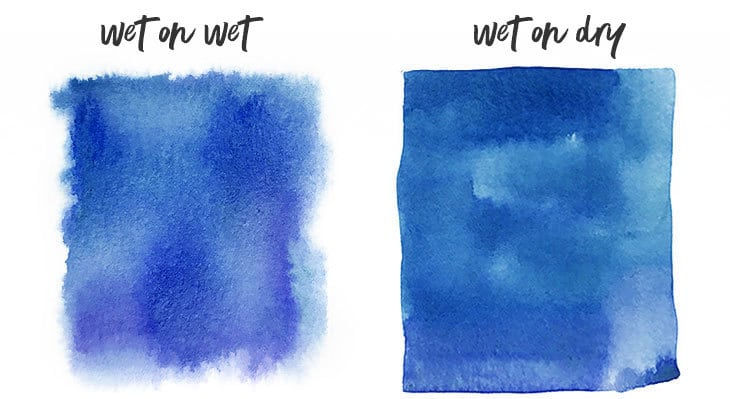
Achieving different effects with watercolor
There are two basic watercolor techniques for achieving different effects. The first one is wet into wet. Which is applying plain watercolor onto your watercolor sheet and then adding liquid watercolor paint on top. The other one is using a dry sheet of watercolor paper and directly applying the activated watercolor paint on top. Wet on wet achieves more flowy abstract looks, whereas wet on dry achieves more realistic looks with more control for precise details.
Now that we've covered the basics, we can begin the tutorial. Below are the videos for beginners, intermediates, and advanced users, in respective order. Additionally, there is an optional last step video for the intermediate and advanced paintings, adding in some mixed media: colored pencils! You can either just do one painting or do two or three!
Link to all of the tutorials made by me!- https://www.canva.com/design/DAGvymM2vOo/6ok5FRU1XAknltT8-IGfjA/watch?utm_content=DAGvymM2vOo&utm_campaign=designshare&utm_medium=link2&utm_source=uniquelinks&utlId=h42dbd178bf
Sources-
